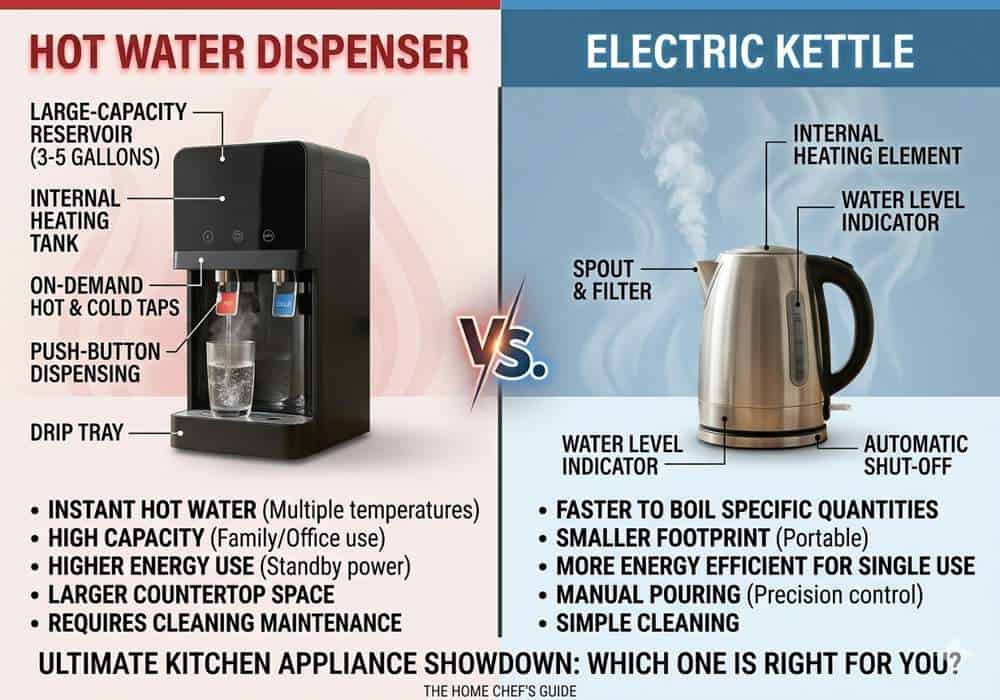
Clean drinking water is necessary for better hydration. Your water dispenser ensures to provide you with cleaner and healthier hot and cold water on demand. But to get cleaner water from the water dispenser smoothly, it is also needed to clean your system thoroughly after a specific time.
Most of the people forget to clean the system, and that uncleanliness may cause mineral buildup in the reservoirs that increases the risk of mold, biofilm, bacteria and bad odor and taste.
You can’t be tension-free by only installing the Oaks water dispenser; you need to know about the frequency, methods and steps of cleaning it properly.
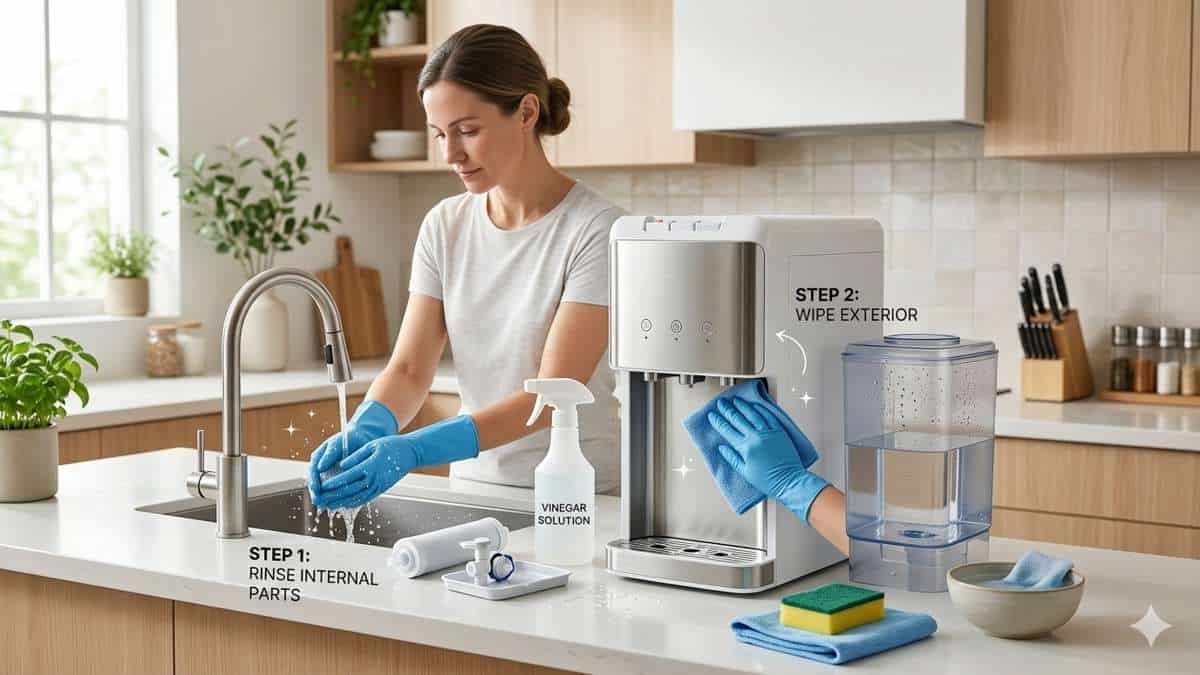
To clean the dispenser, unplug the system first. Remove the water bottle and drain any remaining water. Clean the reservoirs using vinegar or bleach. Let the cleaning solution sit, then scrub and rinse thoroughly. Dry all the parts and reassemble the dispenser before plugging it back in.
Why Cleaning Your Water Dispenser Is Important
The water dispenser works in a moist environment, which is the best place for bacterial growth. The mould and bacterial growth occur specifically in the drip trays and taps.
If the available water is hard water, it may cause mineral buildup in your system that will disturb the performance of the system by slowing down the water supply.
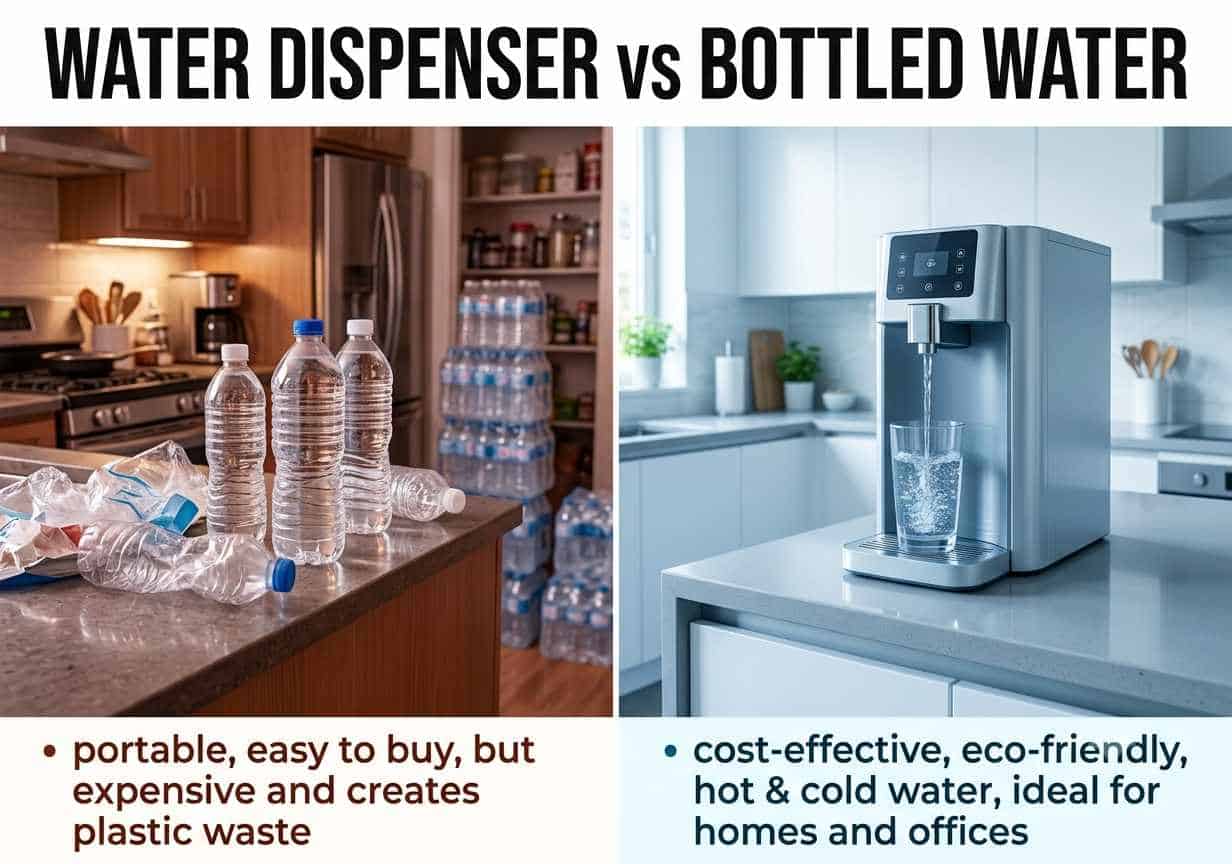
The bottleless water dispensers are safer than the bottled ones. With Oaks Bottleless point-of-use dispensers, there are no bottles to swap at all. But if you are using a bottled water dispenser, there is a risk of dust and dirt contamination during the water bottle replacement.
An unclean water dispenser not only provides you with a bad odor and taste of water, but it may also reduce the heating and cooling efficiency of the system.
Better cleaning habits ensure water dispenser hygiene and may increase the efficiency and life span of the system, along with providing you peace of mind.
Signs Your Water Dispenser Needs Cleaning
There are some common signs that alert you to water dispenser maintenance and cleaning:
- Bad smell and taste of water
- Slimy and mould residue
- Slow water flow
- Visible stains on the surface of the system
- Noisy operations of the system
Cleaning Frequency According to The Types of Water Dispensers
You may have different types of dispensers in your home and offices according to your priorities and needs. These could be bottled water dispensers, bottleless water dispensers, and hot and cold dispensers, etc.
There are different cleaning needs for each type of water dispenser. Some systems need only thorough cleaning, and others may require proper sanitation. Some of the systems could have self-cleaning technologies, but they may also need some manual cleaning.
Each of the water dispensers may have different issues regarding cleaning, and they need to be cleaned at different frequencies:
| Type | Common Issues | Cleaning Frequency |
|---|---|---|
| Bottled | Bacteria near bottle neck and dust contamination | Every 6–8 weeks |
| Bottleless | Filter buildup, bacterial and bold growth | Monthly |
| Hot & Cold | Mineral scaling | Monthly |
| Office Cooler | Heavy usage contamination | Every 4-5 weeks |
Supplies You Need Before Cleaning a Water Dispenser
You may choose professional cleaning and maintenance of your water dispenser. But, in the case you want to do it yourself, you need to have some essentials before cleaning the water dispenser manually:
- White vinegar
- Unscented bleach
- Warm water
- Dish soap
- Microfiber cloth
- Bottle brushes
- Gloves for sensitive skin
- Water bucket
- Cotton swabs
Never mix bleach and vinegar to clean the system because when they get mixed up, a dangerous, foul-smelling gas is released. Prioritize using a microfiber cloth instead of a regular cloth as it may absorb water, dust and bacteria effectively without any scratches on the surface.
Step-by-Step Guide on How to Clean a Water Dispenser
Step 1 – Turn Off and Unplug the Dispenser
First of all, ensure your safety. Turn off and unplug the system. If you are using the Oaks hot water dispenser, let the stored hot water cool down first.
Step 2 – Remove the Water Bottle
If you are using the bottled water dispenser, remove the bottle. After removing the bottle, sanitize the bottle neck and cap to prevent any water contamination.
Step 3 – Drain All Water Completely
Empty the hot and cold reservoirs of the system completely by using rear drainage plugs to avoid any mess.
Step 4 – Remove and Wash Removable Parts
Ensure to remove all the removable parts like drip tray, nozzles, faucets, water guards and wash them thoroughly by using dish soap.
Step 5 – Clean the Reservoir
After removing the removable parts, clean the reservoirs. You may use two methods to clean the reservoir:
Vinegar Method
Mix the vinegar with warm water in a 1:3 ratio, pour it into the reservoir and clean it by using the cloth and rinse it with clean water.
Bleach Method
Mix 1 tablespoon of bleach in a gallon of water and pour it into the reservoir. Allow it to sit for 10 minutes. Drain the bleach solution and fill the reservoir with clean water, and rinse it properly.
It is recommended to use the vinegar method to remove scale buildup and the bleach method to disinfect the bacteria.
Step 6 – Scrub Interior Surfaces
Scrub the interior surfaces by using cotton swabs and a bottle brush.
Step 7 – Rinse Thoroughly
Rinse the system 3-4 times thoroughly to remove the bleach and vinegar smell completely.
Step 8 – Clean the Exterior
Clean the exterior parts of the system, like buttons, handles, air vents, and side panels etc.
Step 9 – Reassemble and Restart
Reassemble the dry removable components, reinstall the bottles or connect the Oaks bottleless water dispenser to the water line, plug in, and restart the system after testing the odor and taste of water.
Hidden Areas Most People Forget to Clean
Most of the people clean the system from the outside and think it’s enough for cleaning. But they forget to clean some hidden areas that may cause a big problem for the system and themselves, too.
- Faucet interiors
- Bottle cap grooves
- Drip tray underside
- Rear ventilation vents
- Rubber seals of reservoirs
- Water guard or smart seat
You need to know the importance of thorough cleaning, why hidden moisture causes mold and bacteria, and the consequences of them. It is recommended to use cotton swabs dipped in vinegar for cleaning the tight corners like rubber seals, water guard, and faucet interiors.
How Often Should You Clean a Water Dispenser?
The cleaning frequency does not only depend upon the type of water dispenser but also other factors like the water usage and the location where you are using the system. You need to set the water dispenser cleaning schedule according to these factors.
| Usage Type | Recommended Cleaning |
|---|---|
| Home use | Every 6–8 weeks |
| Office use | Every 4 weeks |
| Heavy use commercial area | Every 2–3 weeks |
| Humid areas | More frequent cleaning |
Common Mistakes to Avoid While Cleaning
Safe cleaning habits are really necessary for better hygiene and provide your family and employees with cleaner hot and cold water to boost their energy and productivity. Most of you may clean the system with the correct frequency, but with some mistakes that may cause a problem:
- Mixing bleach and vinegar can cause the release of a dangerous gas
- Forgetting the rear drain plug
- Using scented cleaners or bleach
- Not rinsing enough after cleaning with bleach and vinegar.
- Cleaning without unplugging
- Ignoring mould around taps and reservoirs
- Reusing dirty cloths for cleaning purposes
Can Self-Cleaning Water Dispensers Replace Manual Cleaning?
The Oaks premium water dispensers come with UV self-cleaning systems or some type of ozone sanitation technologies that may disinfect the system. It may help to protect your system from bacterial and mold growth.
However, self-cleaning is not a proper solution. You need manual cleaning to clean the dust and mineral buildup in the system and for exterior cleaning. Manual cleaning ensures that you get cleaner and healthier hot and cold water, along with providing you comfort and peace of mind.
Extra Maintenance Tips to Keep Your Water Dispenser Fresh
You may increase the life span of your water dispenser and keep it a fresh system by following some guidelines:
- Store it in a cool, dry area to avoid bacterial growth.
- Keep vents clean and dust-free
- Clean and replace RO water filters regularly
- Sanitize bottle tops and water guard properly
- Avoid direct sunlight because it promotes bacterial growth.
- Use filtered water when possible to prevent mineral buildup.
You may also follow the maintenance checklist to ensure better performance of the system.
- Wipe exterior weekly
- Clean the drip tray weekly
- Deep clean every month
- Inspect taps and reservoirs regularly
- Clean and replace filters on time
Conclusion
A clean water dispenser means better hygiene, safer water and a healthier life. Regular cleaning not only enhances the appearance of your system but also plays an important role in ensuring your health.
Whether you are in your home or at a workplace, make sure to clean the water dispenser for improved dispenser lifespan, and better tasting drinking hot and cold water.
Feel free to contact the Oaks professional for guidance and support about cleaning your water dispenser in a better way.